How to create an exploding object animation using Blender
Here are the steps I took to create an exploding brain 3D animation using the free software Blender. I am not a Blender expert, so this tutorial is in my own words and may not use the official terms of Blender/3D modeling.
Navigating the 3D views in blender can be kind of tough, It is best to use a mouse with a center button/scroll. If you want to move the view around (pan) you can click Shift on the keyboard and the center button of the mouse. Otherwise if you click and drag around the view you will rotate.
Navigating the 3D views in blender can be kind of tough, It is best to use a mouse with a center button/scroll. If you want to move the view around (pan) you can click Shift on the keyboard and the center button of the mouse. Otherwise if you click and drag around the view you will rotate.
|
Open Blender and import your 3D models
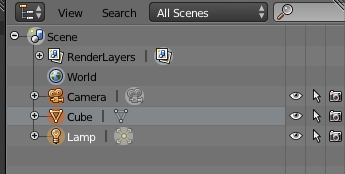
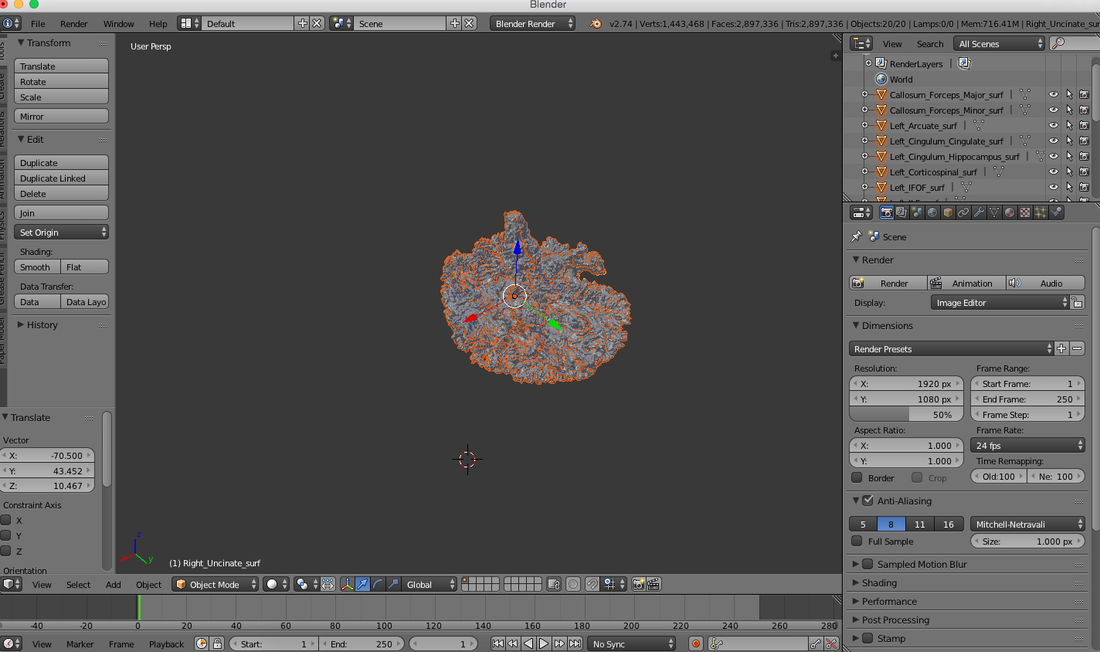
When you first open Blender there will be three items in the scene: a camera, cube, and lamp. I just delete all three of these items by selecting them, right clicking, and clicking delete. To import your 3D models, at the top of the window click File > Import > and choose the file type you will be importing (in my case it will be .ply files). Navigate to where your files are, select them, and click the Import button in the top right. Your files should appear in the top right scene section. You may need to zoom in or out and move around the scene to find your objects. My scene ends up looking something like the image to the right -> My 3D meshes are already aligned to each other, so it is important that I keep all of them selected at all times and perform all transformations on all objects at the same time. If the objects you are importing are already aligned where you want them to start in relation to each other, make sure keep all of them selected. You will know if an object is selected if it has an orange circle behind the yellow triangle icon next to the name. You can use the shift button (on a mac) to select more than one object at a time. |
|
Transform the objects to the position you want them to start in for the animation
With all objects selected, go to the lower tool bar and click Object > Transform > Origin to Center of Mass. This makes sure that any movements my objects make in the animation will be centered on the center of the object.
With all objects selected, go to the lower tool bar and click Object > Transform > Origin to Center of Mass. This makes sure that any movements my objects make in the animation will be centered on the center of the object.

|
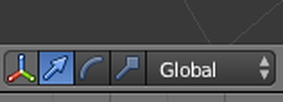
On the bottom toolbar, click the red, blue, and green lines to open up more options for transformations. Change the drop down option to Global and click the button with the arrow. This will make moving your objects much easier, You can mess around with the other options, but I find this one the easiest to work with.
|
|
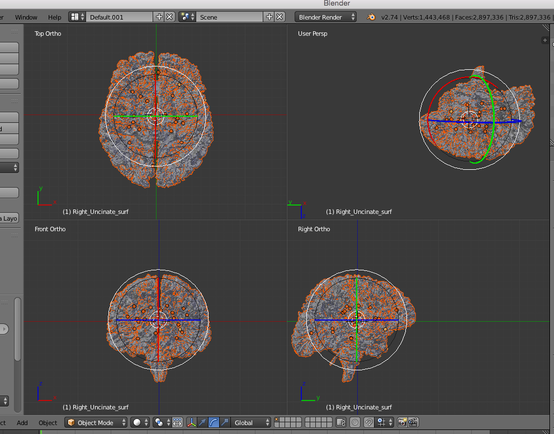
Again on the bottom bar, click View > Toggle Quad View. This will split the screen into 4 smaller views, one for each X, Y, and Z, direction and one showing the camera perspective. This will help with precise movements, it can be hard to move objects around precisely in the camera view.
Use the transformation arrows to center your objects on the point where the red, green, and blue lines meet. You can also click the curve/arc icon next to the arrow on the bottom toolbar to rotate your objects. See the image below. This is roughly where I want my objects to start.
Use the transformation arrows to center your objects on the point where the red, green, and blue lines meet. You can also click the curve/arc icon next to the arrow on the bottom toolbar to rotate your objects. See the image below. This is roughly where I want my objects to start.
|
Adding color to your objects
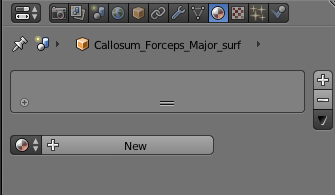
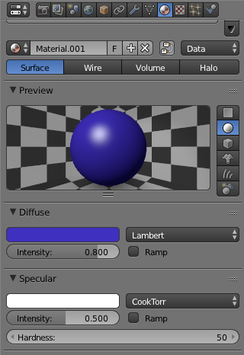
I have 20 different objects and they are very close to each other. I find it is easier to move them around if they are different colors. Choose one of your objects. Select it and only it in the top right scene menu. In the small toolbar below the top right scene menu click the button labeled Material. It is highlighted in the image to the right. Then click the New button. Below where it says Diffuse, click on the open, white colored spot. A small menu will pop up where you can choose the color or enter in RGB, Hex, or HSV values. There are lots of other color and lighting options in this menu that you can play around with. Now go through and color all of your objects. |
|
|
Placing animation keyframes
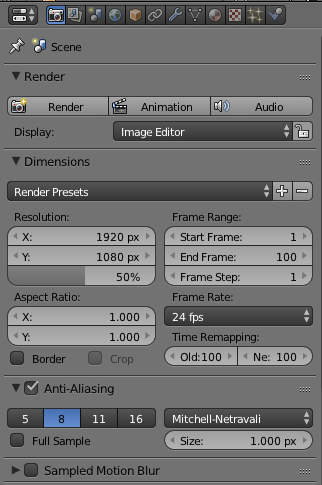
Here is a nice, simple tutorial video on animation in Blender. To reselect all of your objects (meshes) you can go to the bottom toolbar, click Select > Select All By Type > Mesh. Now, in the toolbar where you selected Material, click on the camera button. If you scroll down you will see a section titled Dimensions. Here you can change the number of Frames and Frame Rate. I'm keeping a frame rate of 24 fps, and I want a roughly 4 second animation so I've changed the end frame to 100 (4 X 24 = 96, close enough). On the bottom of the window is the Timeline window. Here is where we will interact with the frames of the animation. Make sure the green line is at frame 1. You can click in the timeline or move the arrows/time in the box that says 1 in the image below. |
|

One you have frame 1 selected and your objects are in the position you want the animation to start in we can insert a keyframe that will save the current position of the objects.
Make sure all of your objects are selected. Click the animation tab on the far left of the window. You will see in the left window a section titled Keyframes. Click Insert > Location.
Since this is an exploding animation where the objects will start together, spread out, and return together, I want the last frame to be the same as the first. In the timeline window move to your last frame and do the same thing. Insert > location.
You should see short yellow lines at the location of those frames. This tells you that you have inserted a keyframe.
Now move to the middle frame of your animation. This is where you will insert a key frame of the objects at their max exploding distance. You can move the objects around now without fear that their original locations will be messed up. You have saved the original locations at the first and last frames.
Here you can click on individual objects and move them around like they have exploding outward. Select your object. Select the arrow icon we used before to move the object around in space. Once they are in the location you want, select all objects again and insert a keyframe in the middle frame of the animation.
Now is a good time to save your blender file if you have not done so already. File > Save.
To be continued!
